A New Zealand campervan trip is one of those experiences that seems to be on a lot of people’s bucket lists. It was certainly on mine, for good reason. New Zealand (Aotearoa in Maori) has everything you need for an epic road trip. And spending weeks freely roaming around the island is the stuff of dreams. You can immerse yourself in New Zealand’s breathtaking nature and Maori culture. Sleep in incredibly beautiful spots. Nerding out on Lord of the Rings lore. And plenty more.
When I left to travel around the world for a year, a campervan trip around New Zealand was one of the things my partner and I decided was a must-do. After all, when else would get the time to spend a full month taking a campervan across New Zealand?
However, when it came time to do the actual planning for this trip, we were a bit overwhelmed. There are so many options for campers to rent and routes to take. We didn’t quite know where to start or what the right option was for us.
With this post, I aim to help guide you through planning your New Zealand campervan trip as thoroughly yet concisely as possible. Look out for additional posts detailing some of my favorite experiences in New Zealand and discussing my route.
Table of Contents:
- Renting vs. Buying
- How to Choose a Campervan
- Best Time of Year to Campervan New Zealand
- Where to Start & Route Considerations
- Helpful Apps & Resources
- Other Considerations
- Potential Itineraries
Renting vs. Buying Your New Zealand Campervan
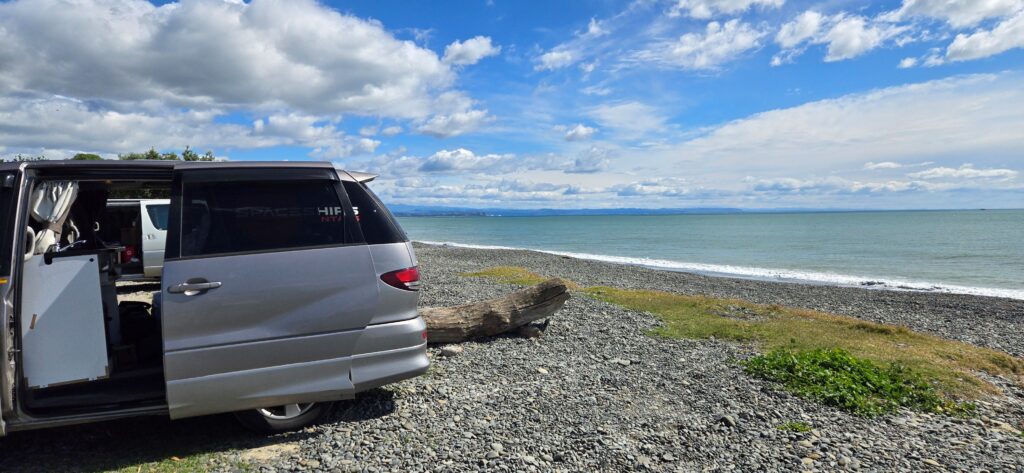
The first question you should ask yourself is whether you’re planning to rent or buy your New Zealand campervan. A good rule of thumb is that it’s better to rent if you’re planning to be there for two months or less and better to buy if you’re planning to be there for longer. Buying can also be a good option for you if you have very specific needs or wants with your campervan that a rental company might not meet.
We used a rental, so I don’t have many tips on buying a van. However, I did see several campers available for sale on the side of the road, so it’s clearly a popular option. If you want to read more about purchasing a campervan for New Zealand, I suggest reading this post for suggestions. (But come back to mine for the rest of my tips!)
Because I rented, this next section focuses on how to choose the right New Zealand campervan for your needs.
Choosing a New Zealand Campervan Rental Company
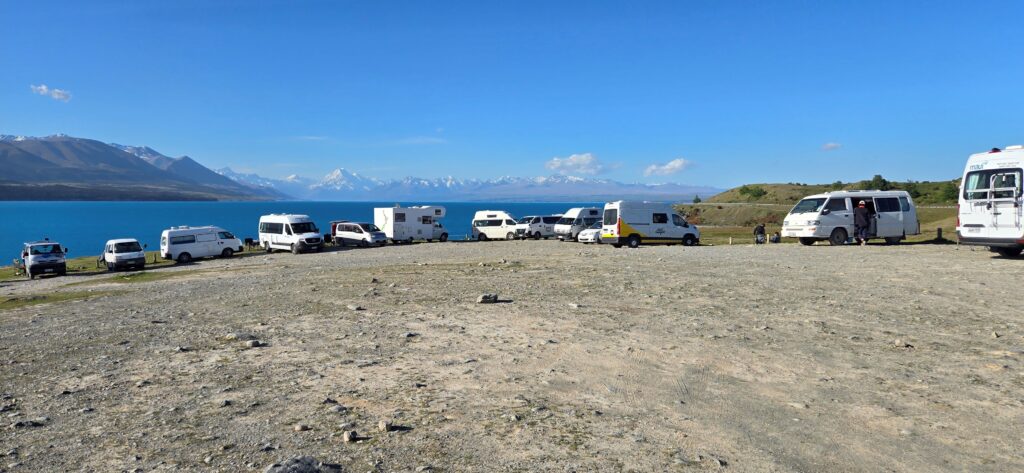
Hiring a campervan seems to be one of the most popular ways to see New Zealand. And the New Zealand campervan rental supply certainly rises up to meet that demand (and then some). There are several different companies renting campervans on both the North and South Island that it can be hard figuring out who to use. On top of the number of companies, most offer different types of configurations depending on the renter’s needs.
Here are some things to consider when deciding which New Zealand campervan is right for you.
Self-Contained vs. Non Self-Contained
One term to get well acquainted with if you’re going to be taking a New Zealand campervan trip is “certified self-contained.” This term means that the campervan has a toilet and sink with both white and gray water tanks. Prior to December 2024, the toilet could be portable or fixed. But as of December 2024, all self-contained rental campers will be required to have fixed toilets.
If your campervan doesn’t meet these requirements, it is not a certified self-contained camper. This designation essentially means you’ll have to sleep in campsites with facilities like toilets and running water. Whereas a self-contained camper permits you to stay in freedom (free) campsites as long as there’s space. Freedom campsites are usually first come, first served.
How do you know if self-contained is right for you or not?
Self-contained is a good idea if you:
- Want ultimate flexibility on your route and campsites
- Feel comfortable dumping waste and greywater
- Don’t mind using the bathroom in a small/communal space
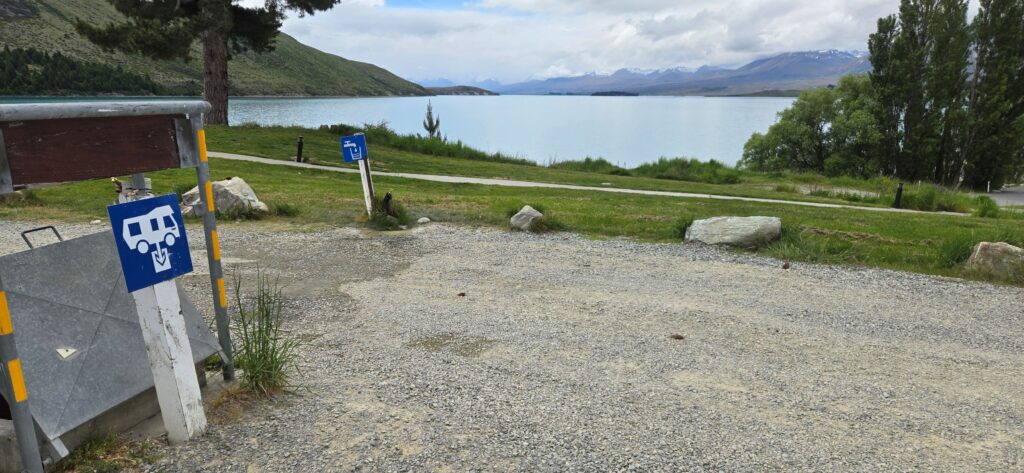
Non self-contained is a good idea if you:
- Prefer to have your campsites booked in advance
- Want to stay in campsites and holiday parks with more creature comforts (e.g., hot showers)
- Don’t want to deal with dumping waste
Note that a self-contained camper will typically cost more than not going self-contained. However, you’ll easily make up that cost by staying in freedom campsites rather than paid sites. Paid sites typically cost around $10-$40 per night, and many charge per person rather than per vehicle.
We decided to go with a self-contained camper, and it was definitely the right call for us! I was slightly concerned it might be tough to find freedom camping sites, but we didn’t have any issues over 28 days. The flexibility and cost savings with self-contained was really worthwhile.
Campervan Size
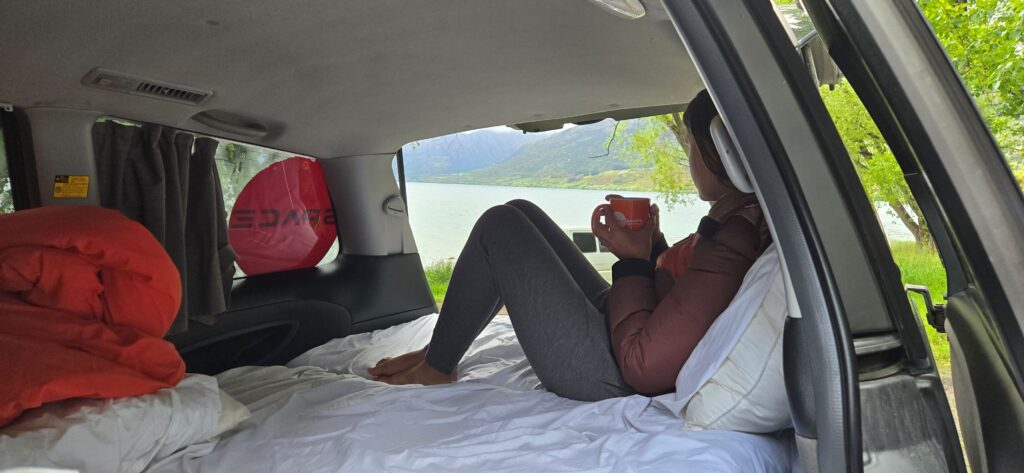
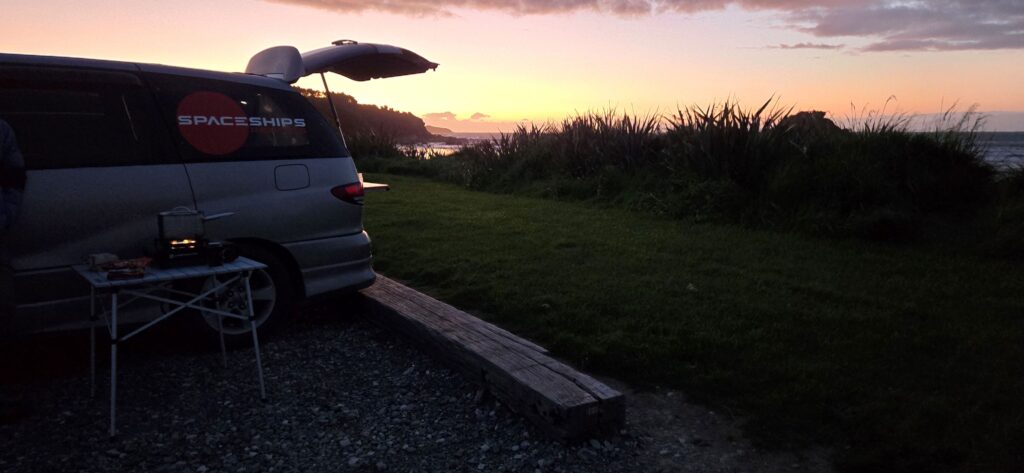
Once you decide on whether you should go self-contained or not, the next thing you need to consider is size. New Zealand Campervans can range anywhere from a converted standard minivan on the smaller side to a full RV on the larger side. Ours was a standard minivan fitted with a bed, sink and portable toilet.
Here are some things to consider to determine the right size for you:
How many people need to fit in the campervan?
If you’re just 1-2 people in the van, you’ll probably be pretty comfortable even in a smaller van. However, more than 2 require something bigger to fit everyone comfortably.
How much room do you need to be comfortable?
If you’re someone who generally needs a lot of space to feel comfortable sleeping or relaxing, you’ll probably require a bigger van. At 5’1” and 5’9”, a converted minivan was just enough space for my partner and I to live and sleep in it comfortably for 28 days. However, if you’re much taller than that, you might find a smaller van more challenging. I can’t imagine taller people being able to fit easily in the bed of our van.
Are you planning to spend a lot of downtime in your van?
If you picture yourself spending a lot of time inside of your van and really using it as a home, you might need to ensure you get a van big enough to fully stand up straight. We couldn’t do that in our camper, which was fine for us as we were usually out exploring and did our cooking out of the back of the van. However, there were a couple of times in rainy weather when we thought it might be nice to have a roomier van.
How much storage do you need?
A smaller camper is better suited to more minimalist living and will have less storage space whereas a larger van can obviously store more. If you’re someone who travels with a large suitcase and likes to pack everything you might need, you’ll probably need a bigger van. If you’re more of a backpacker, a van with limited storage should be okay for you.
What amenities would you like to have?
A typical campervan will come with a bed, storage, refrigerator, cooking gear, plus a sink and toilet if you’re self-contained. Aside from those necessities, you’ll have to think about what else you’d want to have in your van. For example, consider if you’ll want things like a shower, a table or separate sitting area or a larger fridge. Those answers will lead you to whether you want a larger van.
Keep in mind that van size will also impact its price.
Round Trip vs. One Way
When you hire a campervan, you’ll have to know your start and end points for the rental. Most rental companies will permit a one-way rental, but many charge a transfer fee. If you want to start your New Zealand campervan trip in one city and end in another, check to see which companies allow one-way rentals. Then, check to see if there is a fee and how much it will cost.
The rental company we used did not charge a transfer fee, so it’s possible to find companies without fees as well. Some may even give you a transfer credit if you’re picking it up in a less helpful location for the company and dropping it off in a more in-demand location.
Whether you choose to book a round-trip or one-way rental will likely come down to time and route. If you’re visiting for over a month or only visiting one island, you’ll likely be able to make it a round-trip rental. But if you have less time, want to cover more ground or have different airports you’re flying in and out of, a one-way rental will likely work better.
Primary Power Source
Many campers in New Zealand will have solar panels to give you power, but some also require you to plug into electricity at powered campsites and charge up. If you have a van that can survive only on solar panels and charging electronics while you drive, it will save you considerable time and money, as well as being more environmentally friendly overall. All powered campsites are paid, and most campsites charge more for vehicles that have to plug into electricity.
Budget
Perhaps the most important consideration of all is your budget. Renting a New Zealand campervan can run you from about $100 USD per day at the lower end to $300+ USD per day at the upper end.
Here is an easy way to think about it:
| Lower Budget | Higher Budget | |
| Self-Containment | Non self-contained* *Plan to pay an additional $10-$40/night for campsites | Self-contained* *Note that you will save more in the long run if you sleep primarily at freedom camping sites |
| Number of People | Sleeps 1-2 | Sleeps 3+ |
| Size | Converted minivan | Converted sprinter van or RV |
| Amenities | Basic only | Shower, larger fridge, etc. |
| Power | Primarily solar | Requires plugging into powered sites |
Note that while non self-contained vans are cheaper per day, there is a high likelihood you’ll end up spending more money in the long run on campsites than if you choose a self-contained van if you stay primarily in freedom camping sites.
Other Considerations
Many rental companies will also offer vouchers for discounted activities and ferry rides. You should check to see if there are any companies offering vouchers for anything along your planned route. While this likely won’t make your decision entirely, it can give one company an edge over another.
Best Time of Year for a New Zealand Campervan Trip
Another important consideration when planning your New Zealand Campervan trip is the season. These are New Zealand’s season:
| Peak Season | Shoulder Season | Low Season | |
| Months: | Summer (December to February) | Late Spring (October & November) and Early Fall (March & April) | Late Fall to Early Spring (May to September) |
| Pros: | Clearest weather Best time for outdoor activities Summer blooms | Mostly clear weather Outdoor activities generally accessible Relatively smaller crowds Relatively lower prices | Lowest prices Uncrowded Winter activities accessible (e.g., skiing) |
| Cons: | Higher crowds Higher prices | Some activities will still be out of season or less accessible Some rainy, cloudy or cold days | Coldest, rainiest weather Many hikes are not accessible |
Some things to pay extra attention to in the chart above related to your New Zealand campervan trip are prices and crowds. Campers are generally more expensive the closer you are to summer. Our campervan trip was October to November, and the rental days in October were cheaper than November, even booking months in advance.
Additionally, the closer you are to peak season, the more quickly campsites will fill up – both freedom campsites and bookable ones. Note that even outside of peak season, there are school holidays in New Zealand that can also impact the crowdedness of these sites.
Finally, you should seriously consider your tolerance for cold, rainy or windy weather. While you’re not out in the elements as you would be in a tent, you are more exposed to them than you would be if you were to stay in hotels or Airbnbs. If you have a low tolerance for bad weather, you’ll want to travel in peak or late shoulder season.
Where to Start and Route Considerations
If New Zealand is potentially a once in a lifetime trip for you, and/or you’re coming from far away, you probably want to optimize your route as much as possible for maximum enjoyment. The general advice is to start on the North Island and finish on the South Island so that the scenery improves as you go. But that’s won’t always make sense for everyone, depending on a few factors.
Here are some things to take into consideration for your starting and ending points and route in between:
Time of Year:
Your start and end points should really be based on the time of year you’re visiting. The North Island tends to have better weather as the seasons change from winter to summer, whereas the South Island takes longer for weather to improve.
If you’re visiting between September to December and planning to visit both islands, it would be better to start on the North Island. However, if you’re visiting February to May, it would be smarter to start on the South Island. If you’re planning to go to one island only, the same north to south or south to north rules still apply.
Length of Trip:
Unfortunately, if you’re a tourist to New Zealand, your time to explore the country is limited. Your start and end points and overall route will depend on the number of days you have for your New Zealand campervan trip.
Some people claim that if you have two weeks or fewer, you should stick to the South Island only. I think I mostly disagree. While the South Island has more dramatic scenery and generally better hiking, the North Island still has a lot to offer.
However, if you have two weeks or fewer, I’d definitely recommend a one-way campervan trip if you want to visit both islands.
Must-Visit Places:
While planning your New Zealand campervan trip, you should consider your non-negotiable must-dos in the country. That means, what are the things you’d be crushed to leave without seeing? Are they weather-dependent? Do you need to book in advance? If your answer to these questions is yes, you should plan your route according to the best time to visit these destinations.
Read more about key places I recommend (and don’t recommend) visiting on the North Island and South Island.
If you can be choosy, I would recommend starting your trip on the North Island and finishing on the South Island!
Helpful Apps & Resources
Before taking off on your New Zealand Campervan Trip, there are a few apps you should download and websites you should bookmark. Here is what I recommend:
To find campsites, public toilets, dump stations and showers: Campermate and Rankers
These apps are incredible resources that aggregate all these things for anyone taking a camper or even a regular road trip around New Zealand. They show both free and paid campsites with reviews (Rankers also has ratings).
They also show where you can find public dump stations to dump your gray and black water tanks and refill your potable water sources. Additionally, they show free and paid public showers and free public toilets.
The apps also show recommended activities across the country and sometimes will include vouchers. It’s important to have both apps because Rankers has some sites you won’t find on Campermate and vice versa.
To find petrol stations and compare prices: Gasby
Like about everywhere else on the planet, New Zealand has high petrol prices, which seem even steeper when you’re filling up a campervan. The Gasby app aggregates all the gas stations in a given area and their prices so you can compare. It helps you decide if it’s better to fill up in a given area or wait for a cheaper price.
For hiking: AllTrails
AllTrails is a must-have if you plan to do even easy hikes during your New Zealand trip. It has all the hikes in a given area and will alert you to highly rated nearby trails if you have the app installed. AllTrails will also give up-to-date information on whether trails are closed, which happens quite often in New Zealand.

For navigating: Google Maps
Google Maps works well in New Zealand and will be your best bet for navigating during your road trip. You can also download offline maps in case you go through areas with no service, or if you want to save data. I like saving my points of interest to Google Maps to help with route planning.
For additional information on campsites and parks: New Zealand Department of Conservation
The New Zealand DOC website has valuable information on national and regional parks throughout the country, including things like closures and estimated times for reopening. If you’re hiking big tracks like the Tongariro Alpine Crossing, it’s a good resource for knowing trail conditions and if the hike is recommended or not. Additionally, if you’re booking DOC campsites, you can often book them through the site.
For park weather: MetService and NIWA Weather
I often found my phone’s default weather app lacking in New Zealand, and MetService and NIWA Weather to be much more accurate. They are also good if you’re looking to understand weather in a specific area of a park rather than weather for the entire park, as it can differ from area to area.
For camping in a vineyard, brewery, farm or orchard: Okay2Stay
If you’re in a self-contained campervan, you can also find places like this to stay in via a service called Okay2Stay. There is a $30 annual membership fee to use the service, but can be nice if you want to stay in some of these places.
I will say, I never had an issue finding a free camping site without using Okay2Stay. I would only recommend it if you really want to sleep at businesses like these.
For internet access: eSim or mobile wifi
If you’re staying in a campervan, you will not always have access to the internet. Some holidays parks and even a couple of the rare freedom campsites will offer internet, but it’s certainly not a given everywhere. I recommend either portable wifi or an eSim like Airalo or a local sim to ensure you can stay connected.
If you do use Airalo, use my code JESSIC50007 for money off ($3 USD)! Note that I also get a small amount of Air Money at no charge to you.
Other Things to Know About a New Zealand Campervan Trip
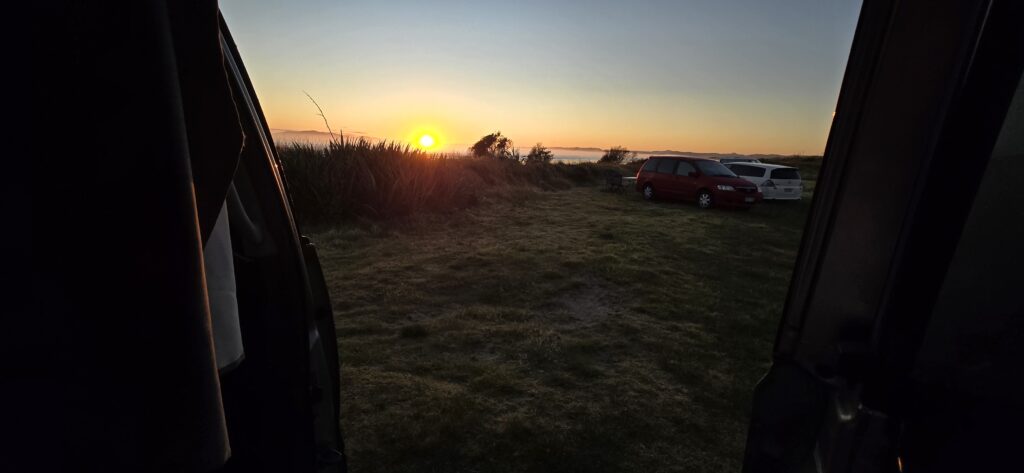
A few additional things to know about New Zealand, whether you’re traveling by campervan, car or anything else.
Weather:
The weather in New Zealand can be quite changeable, especially if you’re traveling in spring or fall. It can also differ quite a bit from coast to coast. Typically, the west coast has more rain and wind than the east coast. If you’re traveling to the west coast or center of either island, you should be flexible with your plans or have contingencies for bad weather. Keep an eye on the forecast even the morning of your plans.
Proximity between destinations:
While certain points of interest might look close on a map, be aware that the actual distance by road might be farther. There are fewer roads you can take when traveling through national parks. Additionally, be sure to look at your rental agreement to determine the types of roads on which you can drive. Many rental companies will invalidate your insurance if you drive on unsealed gravel or sand roads.
Closures:
Many tracks, parks and even roads may close for a variety of reasons. Some roads are prone to flooding and can close during or after heavy rains. Some areas of New Zealand will close during lambing and calving season in the spring. Additionally, New Zealand gets a fair number of earthquakes and ground tremors that can result in certain things being closed due to safety or construction.
Make sure to look up points of interest to ensure they’re open before driving to them and stay flexible. Know that some points of interests are on private farms, and may also close with no notice.
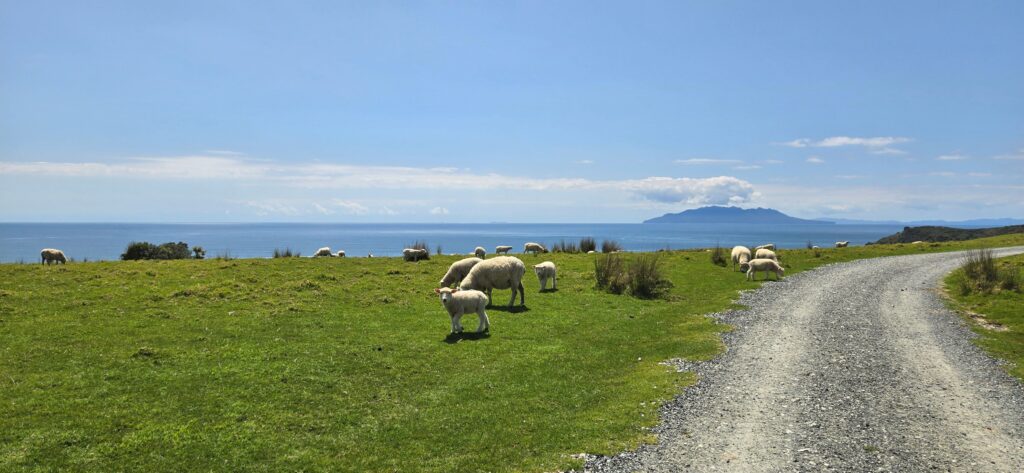
Leave no Trace:
If you’re camping in New Zealand, it’s important to leave no trace. Always ensure you don’t leave any trash or anything else behind at campsites. Sometimes, it can get quite windy, so secure your trash and things so they don’t blow away. Always sweep your campsite to ensure you left nothing behind. Carry extra trash bags because it can be hard to find areas to dump waste.
When washing dishes, you might not always wash them at your sink, especially if you have a smaller van. Be sure to rinse them in some sort of container – bucket, tupperware, bowl, pot – to ensure a bunch of soapy water doesn’t soak into the ground.
If you have to use the bathroom in nature, do not throw your toilet paper on the ground! Pack out solid waste.
Laundry:
There are laundromats across the country, even in small towns. In larger towns, you can pay with card. In smaller towns, you can typically find a cafe or supermarket to change paper money into coins in order to use the facilities. If you stay at paid campsites, some also have laundry.
Note that it can be difficult to hang items, so consider that before handwashing.
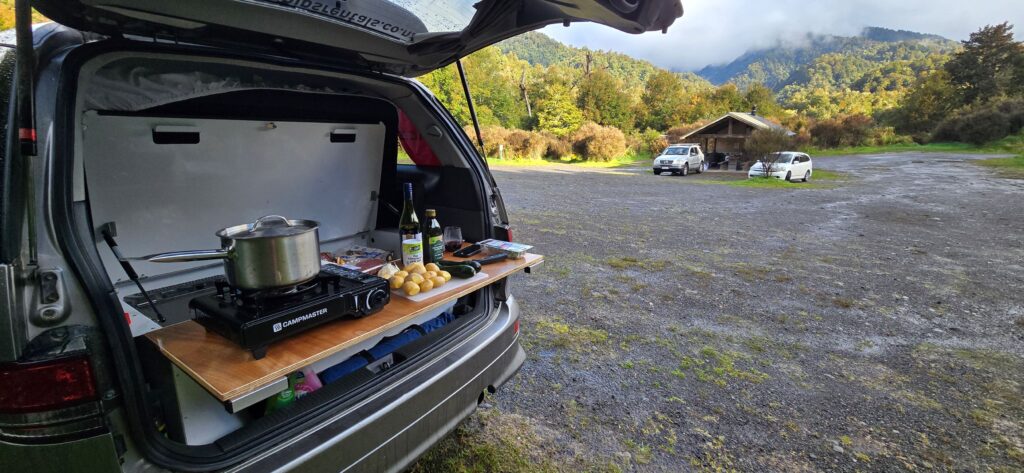
Cooking:
Your campervan should come with a fixed stove or a camp stove for cooking. If you’re primarily cooking outside of your van on a camp stove, be aware that there are times it can get quite windy. Have ways to shield your stove from the wind, extra gas canisters and back-up plans that don’t require heat.
Lakeside Parking:
If you’re staying at a lake, be aware that it can sometimes get quite windy. I recommend generally parking farther away from the water to be more sheltered. Unless you enjoy being rocked by the wind all night.
Showers:
If you’re staying in a smaller van and primarily in freedom campsites, you won’t always have easy access to a shower. Some campsites, especially near beaches, do tend to have free cold showers. Use Campermate to find free and paid showers across the country. You might not be able to shower every day, so I recommend planning your showers around events that will require you to be around other people (especially indoors). And don’t be afraid to take some cold showers!
Some campers will offer a solar shower, which is essentially a bag you fill with water then use as a shower. Our camper had one, but we never actually used it.
Potential Itineraries for your New Zealand Campervan Trip
I know the route for a New Zealand Campervan trip can look very different depending on the amount of time you have. Here are some recommended routes for a New Zealand campervan or regular road trip for different lengths of time.
Note that these routes assume perfect weather your entire trip and no closures for different areas and tracks. That’s not entirely realistic, so you may have to rearrange or skip some things based on these obstacles. Always check the weather and check to ensure things are open!
Potential route for a 10-day trip (both islands):
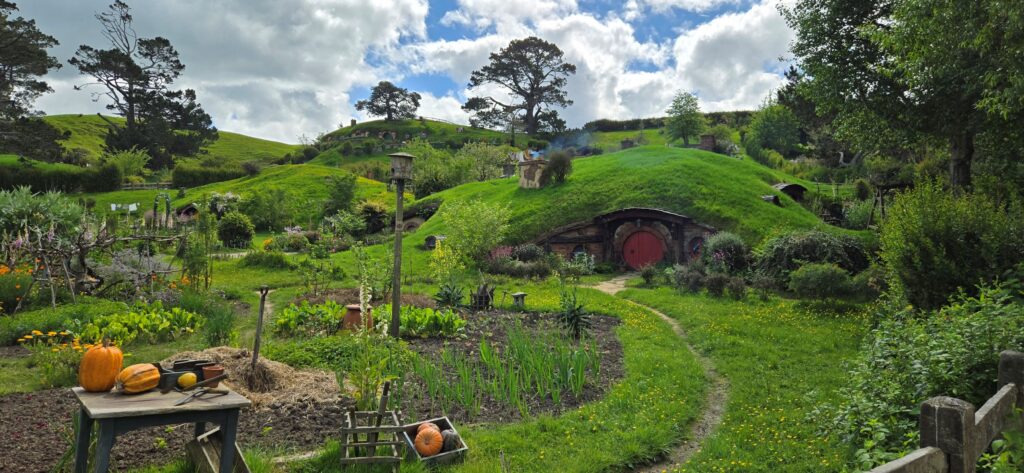
Many people will recommend sticking to one island if you only have 10 full days in New Zealand, but I think you can fit in both islands if you really want to see them. Here is my recommended 10-day itinerary:
Day 0: Land in Auckland
- Pick up campervan or car.
- Dinner in Auckland.
- Overnight somewhere just south of Auckland.
1: Hobbiton & Rotorua
- Drive to Mata Mata for a late morning or early afternoon Hobbiton Tour
- Drive to Rotorua
- Walk around the thermal lakes and springs of Rotorua
- Overnight in Rotorua
2: Maori Village & Geothermal Park
- Visit a nearby Maori Village for a cultural show and village tour (I recommend the Living Maori Village) in the morning
- Drive to a geothermal park
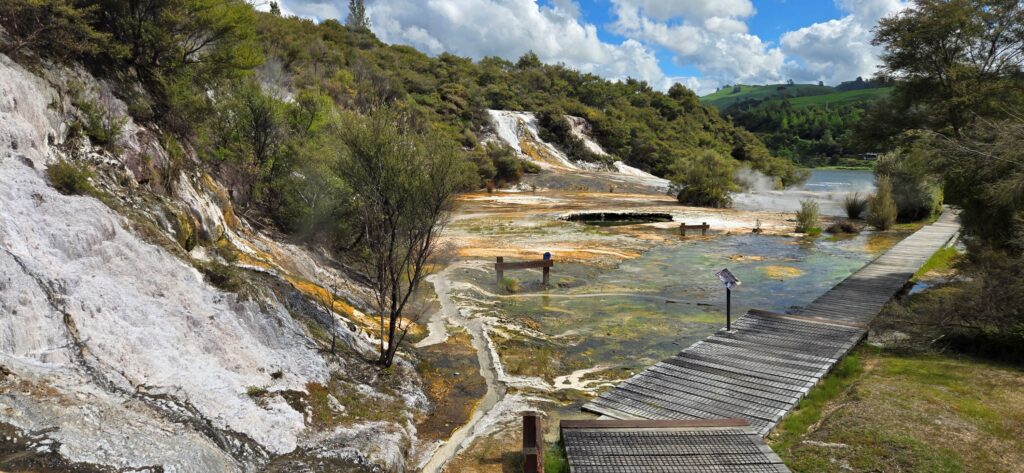
- Tour geothermal park (I recommend Orakei)
- Drive to Tongariro National Park
- Overnight in Tongariro National Park
3: Tongariro National Park
- Explore Tongariro National Park; options:
- Hike a long track like Tongariro Alpine Crossing
- Hike multiple short or medium length tracks
- Drive to different Lord of the Rings filming locations in the park (can also add a short track if wanted)
- Overnight again in Tongariro National Park or just south
4: Wellington & Ferry:
- Drive to Wellington
- Explore Wellington; options:
- Tour Weta studio
- Climb Mount Victoria
- Visit Lord of the Rings filming locations
- Go brewery hopping
- Overnight Ferry to Picton
5: Marlborough
- Drive to Marlborough
- Self-guided bike tour of Marlborough wineries
- Overnight in Marlborough
6: Abel Tasman National Park
- Drive to Abel Tasman National Park
- Hike part of Abel Tasman Coastal Track (such as this trail to Yellow Point)
- Overnight in or near Abel Tasman National Park
7: Pancake Rocks & Glaciers
- Drive to Punakaiki
- Walk the Pancake Rocks track
- Drive to Franz Josef Glacier
- Walk the short track to see Franz Josef Glacier
- Drive to Fox Glacier
- Walk the short track to Fox Glacier
- Overnight between Fox Glacier and Wanaka
8: Wanaka & Queenstown
- Drive to Wanaka
- Wanaka Lake and #ThatWanakaTree
- Drive to Queenstown; options:
- Short hike to Crown Range Summit
- Explore Queenstown
- Do an extreme activity (e.g., bungee jumping, paragliding)
- Overnight in Te Anau
9: Fiordland National Park
- Drive to Fiordland National Park
- Milford Sound Cruise
- Overnight between Fiordland National Park and Mount Cook National Park
10: Mount Cook National Park & Tekapo Lake
- Drive to Hooker Valley
- Hike Hooker Valley Track to Hooker Lake
- Drive to Lake Tekapo
- Hike above Lake Tekapo
- Overnight in or near Lake Tekapo or Lake Pukaki
Departure day: Return campervan or car, fly out of Christchurch
- Drive to Christchurch
- Return vehicle, fly out
Potential route for a 14-day trip (both islands):
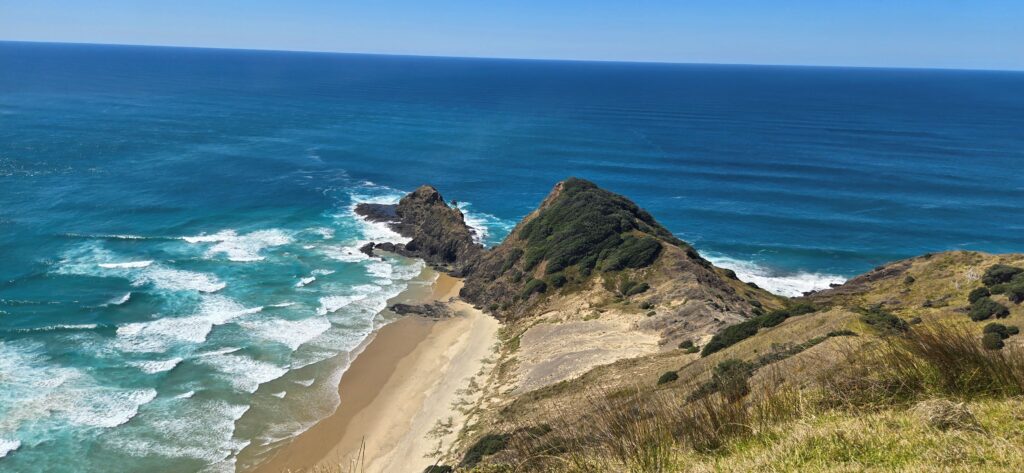
Many people will recommend sticking to one island if you only have 14 full days in New Zealand, but I think you can fit in both islands if you really want to see them. Here is my recommended 14-day itinerary:
Day 0: Arrive in Auckland
- Pick up campervan or rental car
- Drive up to Snell’s Beach
- Overnight at Snell’s Beach
1: Cape Reinga & Ninety Mile Beach
- Drive to Cape Reinga
- Walk to Cape Reinga Lighthouse
- Drive to Ninety Mile Beach
- Overnight at or near Ninety Mile Beach
2: Tawharanui Regional Park
- Drive to Tawharanui Regional Park
- Hike in Tawharanui Regional Park
- Drive to greater Auckland area
- Overnight just south of Auckland
3: Hobbiton & Rotorua
- Drive to Mata Mata for a late morning or early afternoon Hobbiton Tour
- Drive to Rotorua
- Walk around the thermal lakes and springs of Rotorua
- Overnight in Rotorua
4: Maori Village & Geothermal Park
- Visit a nearby Maori Village for a cultural show and village tour (I recommend the Living Maori Village) in the morning
- Drive to a geothermal park
- Tour geothermal park (I recommend Orakei)
- Drive to Tongariro National Park
- Overnight in Tongariro National Park
5: Tongariro National Park
- Explore Tongariro National Park; options:
- Hike a long track like Tongariro Alpine Crossing
- Hike multiple short or medium length tracks
- Drive to different Lord of the Rings filming locations in the park (can also add a short track if wanted)
- Overnight again in Tongariro National Park or just south
6: Wellington & Ferry:
- Drive to Wellington
- Explore Wellington; options:
- Tour Weta studio
- Climb Mount Victoria
- Visit Lord of the Rings filming locations
- Go brewery hopping
- Overnight Ferry to Picton
7: Marlborough
- Drive to Marlborough
- Self-guided bike tour of Marlborough wineries
- Overnight in Marlborough
8: Abel Tasman National Park
- Drive to Abel Tasman National Park
- Hike part of Abel Tasman Coastal Track (such as this trail to Yellow Point)
- Overnight in or near Abel Tasman National Park
9: Pancake Rocks & Glaciers
- Drive to Punakaiki
- Walk the Pancake Rocks track
- Drive to Franz Josef Glacier
- Walk the short track to see Franz Josef Glacier
- Drive to Fox Glacier
- Walk the short track to Fox Glacier
- Overnight between Fox Glacier and Wanaka
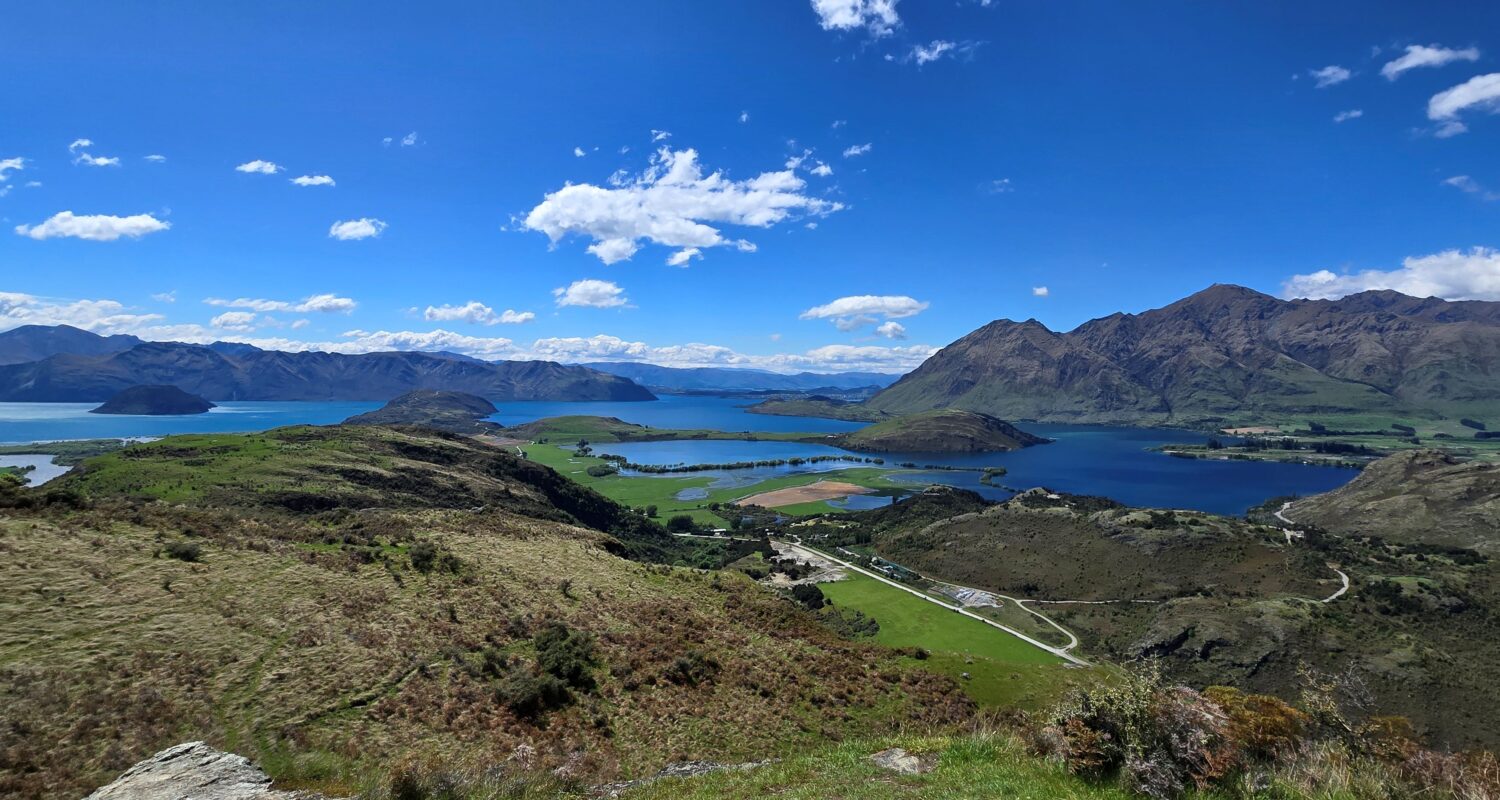
10: Wanaka
- Drive to Wanaka
- See Wanaka Lake and #ThatWanakaTree
- Hike around Wanaka or in Mount Aspiring National Park (I recommend the Diamond Lake and Rocky Mountain Track)
- Drive to Queenstown
- Overnight in or near Queenstown
11: Queenstown
- Queenstown options (choose 2):
- Explore Queenstown parks and restaurants
- Adventure activities like bungee jumping, adventure parks, paragliding, canyon swing
- Visit Glenorchy and Paradise for Lord of the Rings filming locations
- Hike Crown Range Summit
- Drive to Te Anau
- Overnight in or near Te Anau
12: Fiordland National Park
- Drive to Fiordland National Park
- Milford Sound Cruise
- Drive to Catlins region
- Overnight in Catlins
13: Catlins
- Visit coastal points of interest in southeast, such as:
- Monkey Island
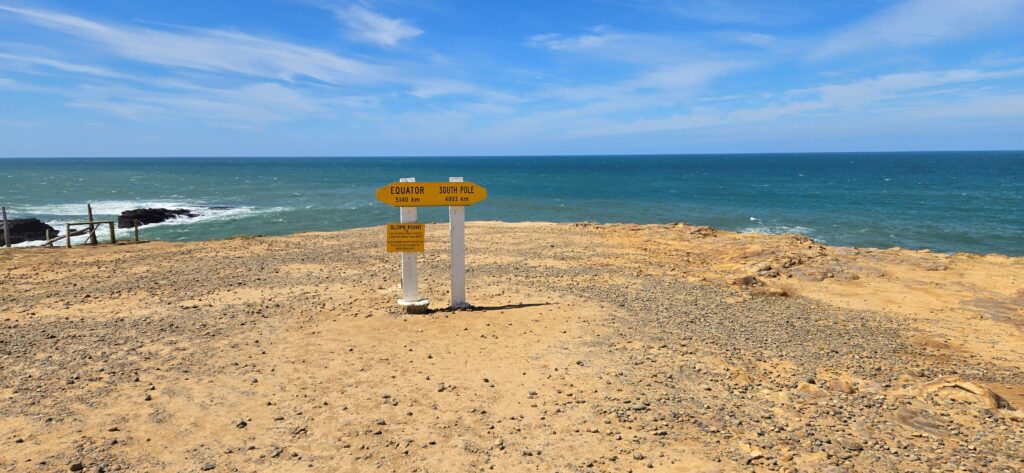
- Slope Point (the southernmost point of the South Island)
- Curio Bay (petrified rock forest)
- Cathedral Caves
- Tunnel Beach
- Nugget Point
- Overnight between Catlins and Mount Cook National Park
14: Mount Cook National Park & Tekapo Lake
- Drive to Hooker Valley
- Hike Hooker Valley Track to Hooker Lake
- Drive to Lake Tekapo
- Hike above Lake Tekapo
- Overnight in or near Lake Tekapo or Lake Pukaki
Departure day: Return campervan or car, fly out of Christchurch
- Drive to Christchurch
- Return vehicle, fly out
Potential route for a 30-day trip (both islands):
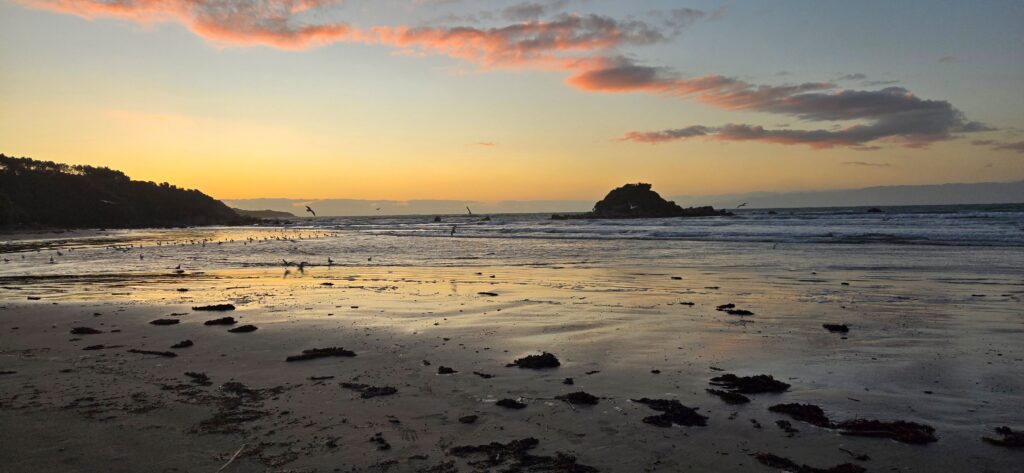
In 30 days, you can pretty comfortably visit key points of interest on both islands. Here is my recommended 30-day itinerary:
Day 0: Arrival in Auckland
- Arrive in Auckland
- Overnight in Auckland hotel, hostel or Airbnb (to rest up before campervan trip)
1: Pick up Campervan, Snell’s Beach
- Drive to Snell’s beach
- Overnight in Snell’s beach
2: Tawharanui Regional Park
- Drive to Tawharanui Regional Park
- Tawharanui hiking
- Overnight between
3: Cape Reinga & Ninety Mile Beach
- Drive to Cape Reinga
- Walk to Cape Reinga Lighthouse
- Drive to Ninety Mile Beach
- Explore Ninety Mile Beach
- Overnight in or near Ninety Mile Beach
4: Waitangi Treaty Grounds
- Drive to Waitangi
- Visit treaty grounds and community house (marae) for a fee
- Optional: Stop by Waipu Glow Worm Caves or Bay of Islands lookout point
- Overnight between Waitangi and Coromandel Peninsula
5: Coromandel Peninsula
- Drive to Coromandel Peninsula
- Cathedral Cove coastal walk
- Drive to Mata Mata
- Overnight in Mata Mata
6: Hobbiton & Rotorua
- Morning tour of Hobbiton
- Drive to Rotorua
- Walk around the thermal lakes and springs of Rotorua
- Overnight in Rotorua
7: Maori Village & Geothermal Park
- Visit a nearby Maori Village for a cultural show and village tour (I recommend Whakarewarewa – Living Maori Village) in the morning
- Drive to a geothermal park
- Tour geothermal park (I recommend Orakei)
- Overnight at Orakei Geothermal Park or near Lake Taupo
8: Lake Taupo & Tongariro National Park
- Drive to Lake Taupo
- Hike to Huka Falls
- Drive to Tongariro National Park
- Optional: Short hike in Tongariro National Park
- Overnight in Tongariro National Park
9: Tongariro National Park
- Explore Tongariro National Park; options:
- Long hike (e.g., Tongariro Alpine Crossing)
- Short hikes
- Explore Lord of the Rings filming locations
- Drive to Hawkes Bay
- Overnight in Hawkes Bay
10: Hawkes Bay
- Self-guided bike tour of Hawkes Bay wineries
- Overnight in Hawkes Bay
11: Putangirua Pinnacles & Palisades
- Drive to Putangirua
- Pinnacles Hike
- Drive to Palisades coast
- See seals at Palisades
- Overnight in Palisades
12: Rivendell & Wellington
- Drive to Kaitoke Regional Park
- See Rivendell arch
- Optional: short hike in Kaitoke Regional Park
- Drive to Wellington
- Overnight in Wellington
13: Wellington & Ferry
- Drive to Wellington
- Explore Wellington; options:
- Tour Weta studio
- Climb Mount Victoria
- Visit Lord of the Rings filming locations
- Go brewery hopping
- Night Ferry to Picton
- Overnight near Marlborough
14: Marlborough
- Drive to Marlborough
- Self-guided bike tour of Marlborough wineries
- Overnight in Marlborough
15: Abel Tasman National Park
- Drive to Abel Tasman National Park
- Hike part of the Abel Tasman Coastal Track (to Yellow Point)
- Drive to Kahurangi National Park
- Overnight near Kahurangi National Park
16: Mount Owen
- Drive to Mount Owen
- Hike summit of Mt. Owen
- Overnight in Murchison
17: Pancake Rocks & Glaciers
- Drive to Punakaiki
- Walk the Pancake Rocks track
- Drive to Franz Josef Glacier
- Walk the short track to see Franz Josef Glacier
- Drive to Fox Glacier
- Walk the short track to Fox Glacier
- Overnight in Mount Aspiring National Park
18: Mount Aspiring National Park
- Hike Blue Pools Track
- Hike part of Rob Roy Glacier Track
- Drive to Wanaka
- Overnight in Wanaka
19: Wanaka
- Drive to Wanaka
- See Wanaka Lake and #ThatWanakaTree
- Hike around Wanaka or in Mount Aspiring National Park (I recommend the Diamond Lake and Rocky Mountain Track)
- Drive to Queenstown
- Overnight in or near Queenstown
20: Queenstown
- Queenstown options (choose 2):
- Explore Queenstown parks and restaurants
- Adventure activities like bungee jumping, adventure parks, paragliding, canyon swing
- Visit Glenorchy and Paradise for Lord of the Rings filming locations
- Hike Crown Range Summit
- Drive to Te Anau
- Overnight in or near Te Anau
21: Fiordland National Park
- Drive to Fiordland National Park
- Hike to Key Summit
- Overnight in or near Fiordland National Park
22: Fiordland National Park
- Drive to Milford Sound
- Morning Milford Sound Cruise
- Drive to Monkey Island
- Optional: Climb to top of Monkey Island at low tide
- Overnight in Monkey Island
23: Catlins
- Drive to Antarctic View Farms
- Walk to Slope Point
- Drive to Curio Bay
- Penguin walk to petrified walk forest
- Drive to Cathedral Caves
- Cathedral Caves walk
- Drive to Nugget Point
- Walk to lighthouse
- Overnight between Nugget Point and Dunedin
24: Dunedin & Timaru
- Drive to Tunnel Beach
- Tunnel Beach Walk
- Drive to Harington Point
- Guided tour of Royal Albatross Centre
- Drive to Timaru
- See little blue penguins at dusk
- Note: Best time to see Albatross flight and yellow-eyed penguins at Centre is dusk, and best time to see Little Blue Penguins is dusk. Might be better to break this into two days and spend a day in Dunedin in between Royal Albatross Centre and Timaru.
25: Lake Tekapo & Pukaki
- Drive to Lake Tekapo
- Hike above Lake Tekapo
- Drive to Lake Pukaki
- Overnight at Lake Pukaki
26: Mount Cook National Park
- Drive to Hooker Valley
- Hooker Valley Track to Hooker Lake hike
- Overnight at Lake Pukaki
27: Mount Sunday
- Drive to Mount Sunday
- Mount Sunday hike
- Overnight between Mount Sunday and Kaikoura
28: Kaikoura
- Drive to Kaikoura
- Look for seals
- Optional: Take a Maori-owned dolphin and whale watching tour
- Overnight near Rakaia Gorge
29: Rakaia Gorge & Otago Wine Region
- Rakaia Gorge Walkway
- Drive to Otago
- Self-guided winery tour through Otago wine trail
- Overnight in Otago
30: Christchurch
- Drive to Christchurch
- Optional: Walking tour in Christchurch
- Return rental car or campervan
- Overnight in Christchurch
Departure Day
Depart Christchurch
Are you planning a New Zealand Campervan trip? Let me know!
Pin this post to save it for later.

5 thoughts on “How to Plan Your Perfect New Zealand Campervan Trip”